Assignments > Tutorial 4: Intro to HTML Forms + CSS Practice
Due on Mon, 02/12 @ 11:59PM. 6 Points.
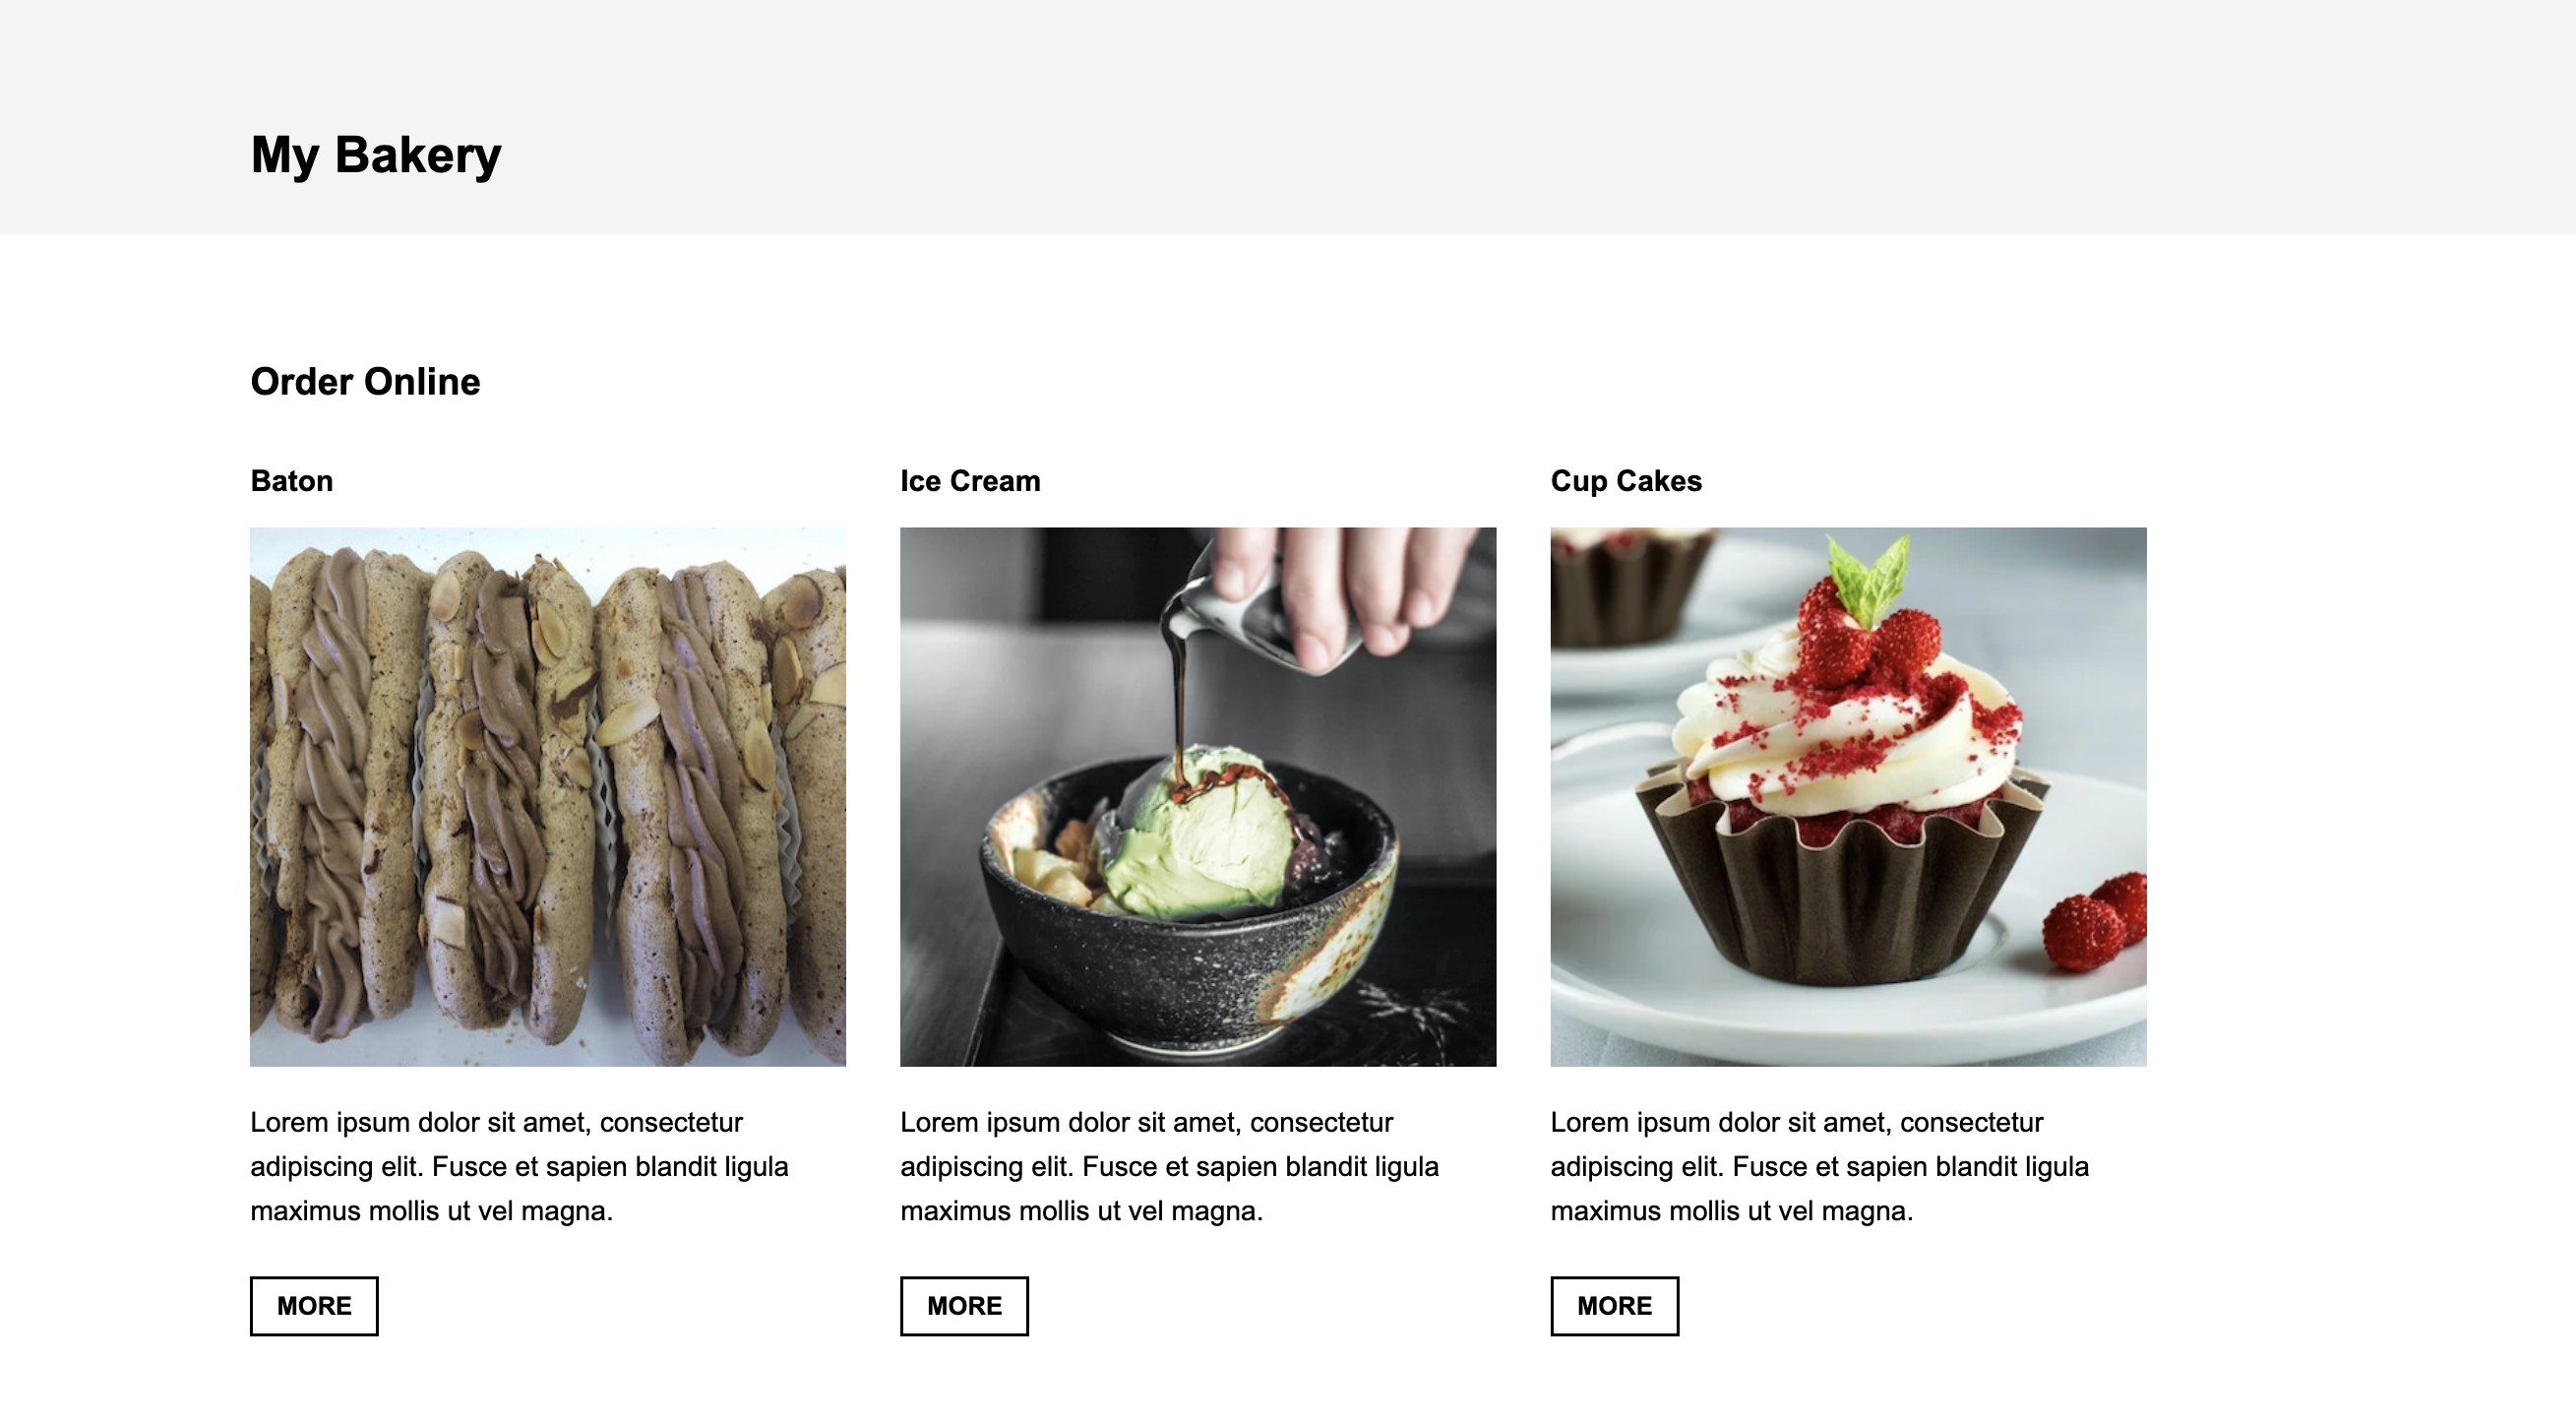
In today’s tutorial, you are going to make a website for a bakery, which will involve:
- Creating HTML form so that people can contact you,
- Connecting your form submission to a server address – so that the submitted data can be processed,
- Styling your bakery homepage, and
- Linking between your various bakery pages.
When you’re done, your bakery homepage should look like the image shown below:
Please download the starter files, unzip them, and save them inside of your csci185/tutorials folder.
Then complete the following tasks:
Your Tasks
1. Make a Form
Add the following form tags to the <section id="contact"></section> of the form:
<form action="#" method="POST">
    <h2>Contact Us</h2>

    <label for="name">Name:</label>
    <input type="text" id="name" name="name" required>

    <label for="email">Email:</label>
    <input type="text" id="email" name="email" required>

    <label for="message">Message:</label>
    <textarea id="message" name="message" spellcheck="true" rows="10"></textarea>

    <button id="submit" type="submit">Send</button>

    <!-- This is a hidden form field
    (invisible to the user, but necessary for the form) -->
    <input type="hidden" id="redirect" name="_next" value="">

</form>
When you’re done, please take a look at the input, label and button tags. Note how each tag creates a different form control (or label).
2. Sending data using a form
In order to get your form to work, you need to teach your web browser where to send the data that users type into the form. There are many ways to do this. We will be using a free service called Form Submit. To get your form to work with formsubmit, please do the following:
- Modify your form’s
actionattribute by replacing the#with this web address:
https://formsubmit.co/your_email@provider.com. - Replace
your_email@provider.comwith your email address. - Test your form by:
- Previewing
index.htmlin the web browser - Filling it out and pressing the “Send” button (and completing the captcha if prompted)
- Checking your email
- Previewing
If you did it right, you should have received an email with the information you filled out in the form you just submitted (it might be in your spam folder).
How did it work?
Your browser sent all of the data that you typed into the form to a server located at this address: https://formsubmit.co. The “Form Submit” server then relayed that information to your email address (which you specified in the action attribute). There are many ways to send data to a server. Using the form’s built-in action attribute is one of those ways.
3. Styling your page
Once you’ve got your form working, it’s time to style it! In this section, the style declarations will be provided for you, but it’s up to you to figure out what selector to use.
3.1. Text formatting
Create a rule that assigns the following style declaration(s) to all of the p elements on the page:
font-size: 1.1em;
line-height: 1.6em;
3.2. Add padding to the various containers
Create a rule that assigns the following style declaration(s) to all of the header, section, and footer elements on the page.
- Hint: use a grouping selector.
padding: 60px 15vw;
3.3. Format the header
Format the header tag by giving it the following style declaration(s):
background: #F4F4F4;
height: 150px;
3.4. Change the height of the “about” and “contact” sections
Create a rule that assigns the following style declaration(s) to the id="about" and id="contact" elements of the page
min-height: 100vh;
- This rule ensures that the height of each section is at least the size of the window.
3.5. Change the background color of the “about” and footer sections
Create a rule that assigns the following style declaration(s) to the id="about" and footer elements.
background: #F4F4F4;
3.6 Format the dessert cards
Create a rule that assigns the following style declaration(s) to all of the elements that have a class of “item”:
display: inline-block;
width: 28%;
margin-bottom: 50px;
margin-right: 30px;
A few notes:
display: inline-block;makes the cards so that they are arranged side-by-side.width: 28%;ensure that there are roughly three cards per row (accounting for the right margin).- the
margin-rightandmargin-bottomproperties create space between each card.
3.6. Format the images inside of the dessert cards
Create a rule that assigns the following style declaration(s) to all of the images that are inside of an element with a class of “item”:
width: 100%;
- This will ensure that the image fits to the size of its parent container.
3.7. Format the Form
Finally, add the following rulesets to the end of the stylesheet to format the links and the form:
.item a,
.item a:link,
.item a:visited,
.item a:hover,
.item a:link,
button {
    text-decoration: none;
    color: black;
    padding: 8px 15px;
    border: solid 2px black;
    margin-top: 10px;
    text-transform: uppercase;
    font-weight: bold;
    display: inline-block;
}

#contact form {
    margin: 0 auto;
    width: 600px;
    padding: 20px;
    background: #F4F4F4;
    border-radius: 4px;
}

#contact label {
    display: inline-block;
    width: 75px;
    padding: 10px 0px 5px 0;
    margin-top: 10px;
}

#contact input, #contact textarea {
    width: 550px;
    padding: 10px;
    border-radius: 4px;
    background: #FFF;
    border: solid 1px #CCC;
    padding-bottom: 20px;
    font-size: 1.2em;
    margin-bottom: 10px;
}

/* Formatting for Detail Page */

.detail img, .detail .description {
    display: inline-block;
}

.detail img {
    width: 40%;
    vertical-align: top;
    margin-right: 40px;
}
.detail .description {
    width: 55%;
}

h1 a,
h1 a:visited,
h1 a:active,
h1 a:link,
h1 a:hover {
    color: black;
    text-decoration: none;
}
h1 a:hover {
    text-decoration: underline;
}
For the sake of time, the form and detail page formatting has been done for you. That said, take a look at each ruleset and see if you can understand what it does!
4. Link the pages together
Finally, to give you more practice re: linking (to prepare you for Quiz 1), please complete the following HTML tasks:
- Modify all of the “MORE” links so that they link to their respective “detail page.”
- Preview all of the detail pages. If some of them don’t link to the stylesheet, add the stylesheet links. See
pages/batons.htmlfor a sample. - For each “detail” page, add a hyperlink inside of the
<h1>tag that links back to the main page.
What to turn in
After completing Tutorial 4, please publish everything to GitHub (stage, commit, and sync). Then, in the Moodle, paste a link to:
- Your GitHub pages homepage (the link that visually displays your homepage)
- Your repository (the link that displays your code)
For example, Sarah would submit:
- GitHub pages homepage: https://vanwars.github.io/csci185-coursework/
- Repository: https://github.com/vanwars/csci185-coursework