Assignments > Tutorial 2: Make Your First Web Page
Due on Mon, 01/29 @ 11:59PM. 6 Points.
Assumptions: This tutorial assumes that you have reviewed the materials assigned in the Intro to HTML lecture.
Part 1. Setting Up Your Development Environment
1. Install Visual Studio Code
Download and install Visual Studio Code: https://code.visualstudio.com/.
- This does not need to be done if you are working on the computer lab computers – just if you’re working on your laptop.
2. Organize your files
File management and organization are an essential part of programming and web development. As such, we suggest the following system:
- Create a course folder called csci185 somewhere on your computer. Many people store theirs in Documents or on their Desktop.
- Create a tutorials folder inside of your csci185 folder.
- Download the tutorial02.zip file, unzip it (ask if you’re new to zipping / unzipping files and I will help you) and move the unzipped tutorial02 folder into the
csci185/tutorialsfolder (see diagram below).
csci185
    |
    |-- lectures
    │   |-- lecture03
    │   ...
    |-- tutorials
        |-- tutorial02
        ...
3. Take a look at your files
You will be editing your files using VS Code (or another code editor of your choice), and viewing your rendered files in your web browser.
A. View file in Visual Studio Code
- Open VS Code (your code editor).
- Add your entire csci185 folder to VS Code by
- clicking
File >> Add Folder to Workspace... - and then navigating to your csci185 folder (wherever you saved it)
- clicking
- Open your index.html file and take a look at it. You should see a very simple HTML file that looks like this:
<!DOCTYPE html>
<html lang="en">
   <head>
        <!-- stylesheets and metadata go here -->
       <title>Home</title>
       <!-- <link rel="stylesheet" href="style.css"> -->
   </head>
   <body>
       <!-- HTML content tags go here -->
        <nav class="navbar">
            <strong>Home</strong>
            <a href="#">Music</a>
            <a href="#">Videos</a>
        </nav>
        <main>
            <h1>Home</h1>
            <p>Here is some text for the homepage.</p>

            <section class="photo-section">
                <!-- photos go here-->
            </section>
        </main>
   </body>
</html>
B. View file in Web Browser
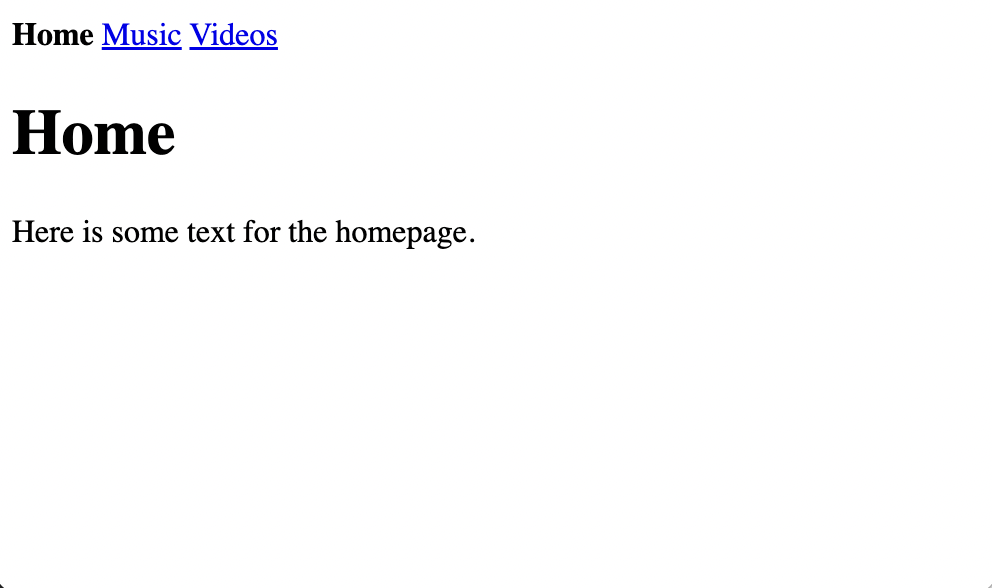
Once you’ve taken a look at the code in VS Code, go to your file navigator (Windows Explorer for Windows, Finder for Mac), and double-click index.html to preview it in your browser. For this course, we recommend that you use Chrome because it has some really great built-in developer and debugging tools.
It should look something like this:
Part 2. Completing the Exercises
Now that you’re set up, please complete the 6 tasks below:
1. Connect your style.css stylesheet
Open your index.html file. Within the <head></head> section, uncomment the following line by removing the <!-- on one side and the --> on the other:
<!-- <link rel="stylesheet" href="style.css"> -->
This “link tag” instructs the browser to style the index.html according to the rules specified in the styles.css stylesheet. When you’re done, it your code should look like this:
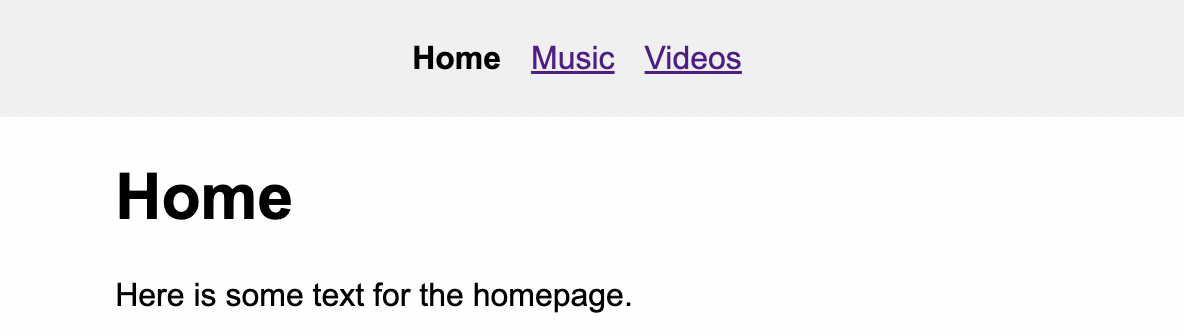
<link rel="stylesheet" href="style.css">
Test your change by refreshing your web browser. Your page should now look like this:
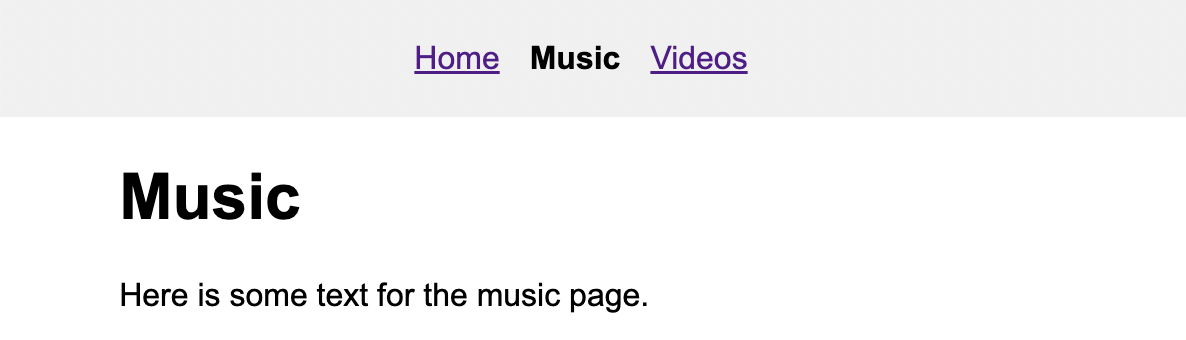
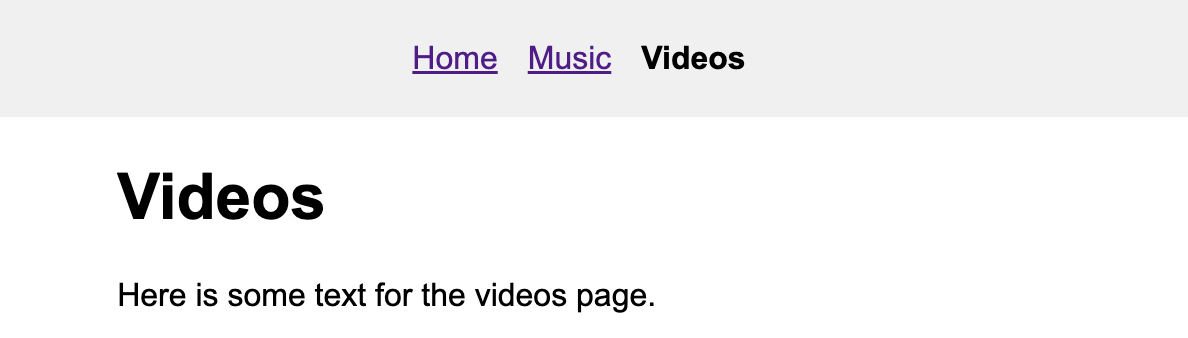
Next, add this same stylesheet link tag inside of the head tag of the videos.html and music.html files, and then preview both of these in your web browser. These pages should look like this:
2. Link your pages to one another in the navigation section
Next, modify the anchor tags within the navigation section (in each of your pages) so that your pages link to one another. To do this, you will modify the value that corresponds to the href attribute so that it points to the file you want to open when your user clicks the link. In other words, you will replace the # with a relative path to the relevant HTML file.
<nav class="navbar">
    <strong>Home</strong>
    <a href="#">Music</a>
    <a href="#">Videos</a>
</nav>
Hint: Please review the W3Schools reference on “HTML File Paths,” if you are not sure what a relative path is.
Update all of your anchor tags on all three pages. When you’re done, all of the pages should link together as shown below:
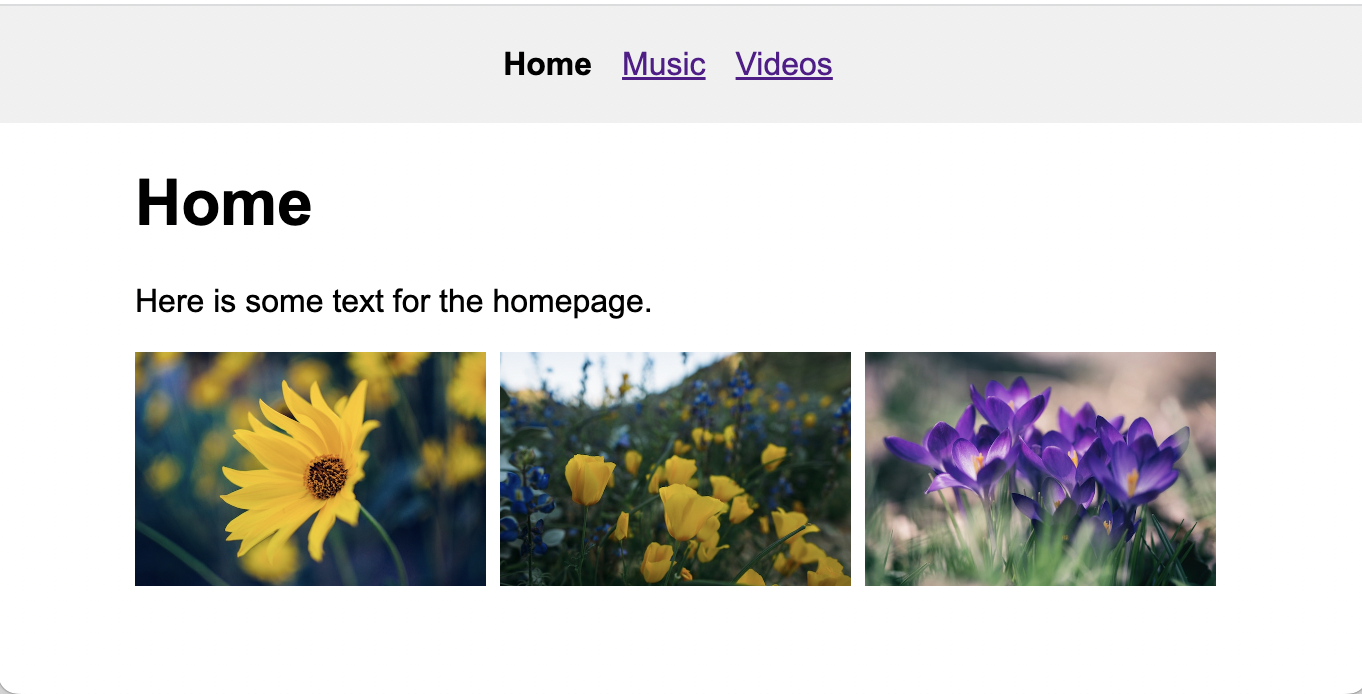
3. Add some images to the index.html file
Inside the index.html file:
- Add three image tags inside of the
<section class="photo-section"></section>region of your page. - Each image should reference one of the flower images inside of the
imagesfolder. - Make sure that you use relative paths to each of your images.
- Feel free to save other images into your
imagesfolder and use those if you want.
When you’re done, your page should look like this:
Hint: Please see the course resources on images for more detail.
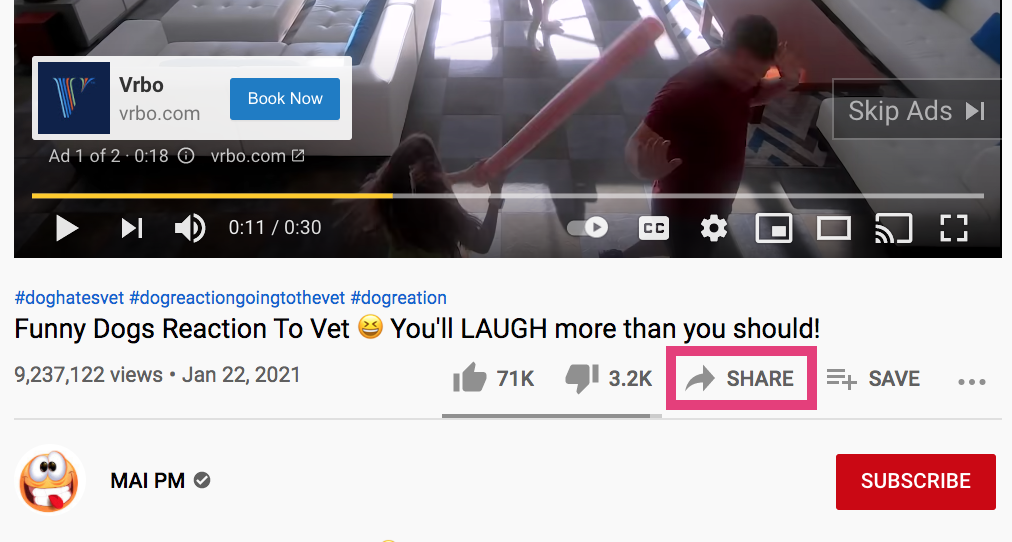
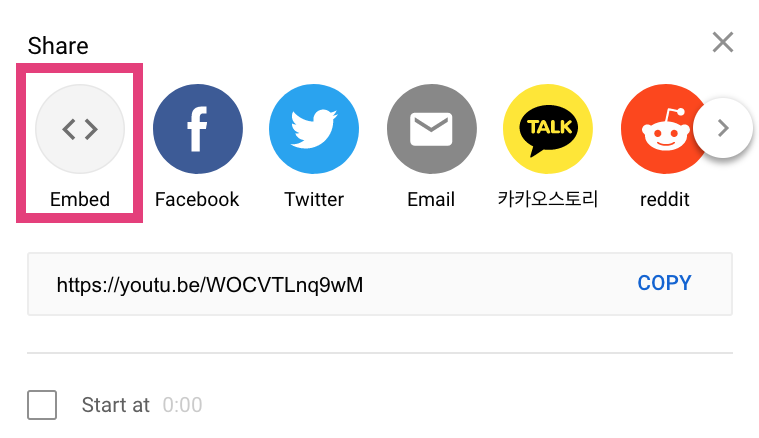
4. Add two videos to the videos.html file
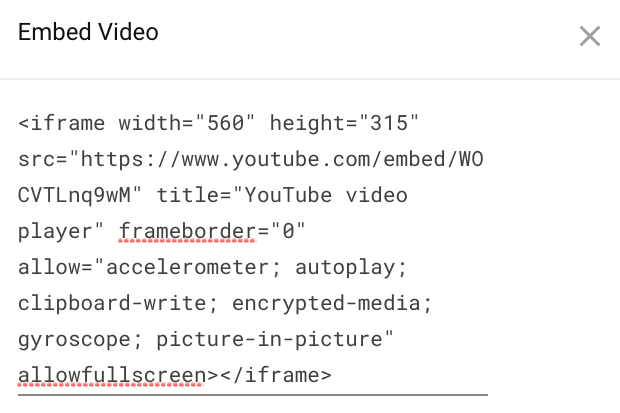
Inside the videos.html file, add two different YouTube or Vimeo videos inside of the <section class="video-section"></section> region of your page. To get the embed code of any YouTube video, (a) navigate to the video, (b) click “share”, (c) then click “embed,” and (d) then copy the embed code (iframe tag), as pictured below (note the pink squares):
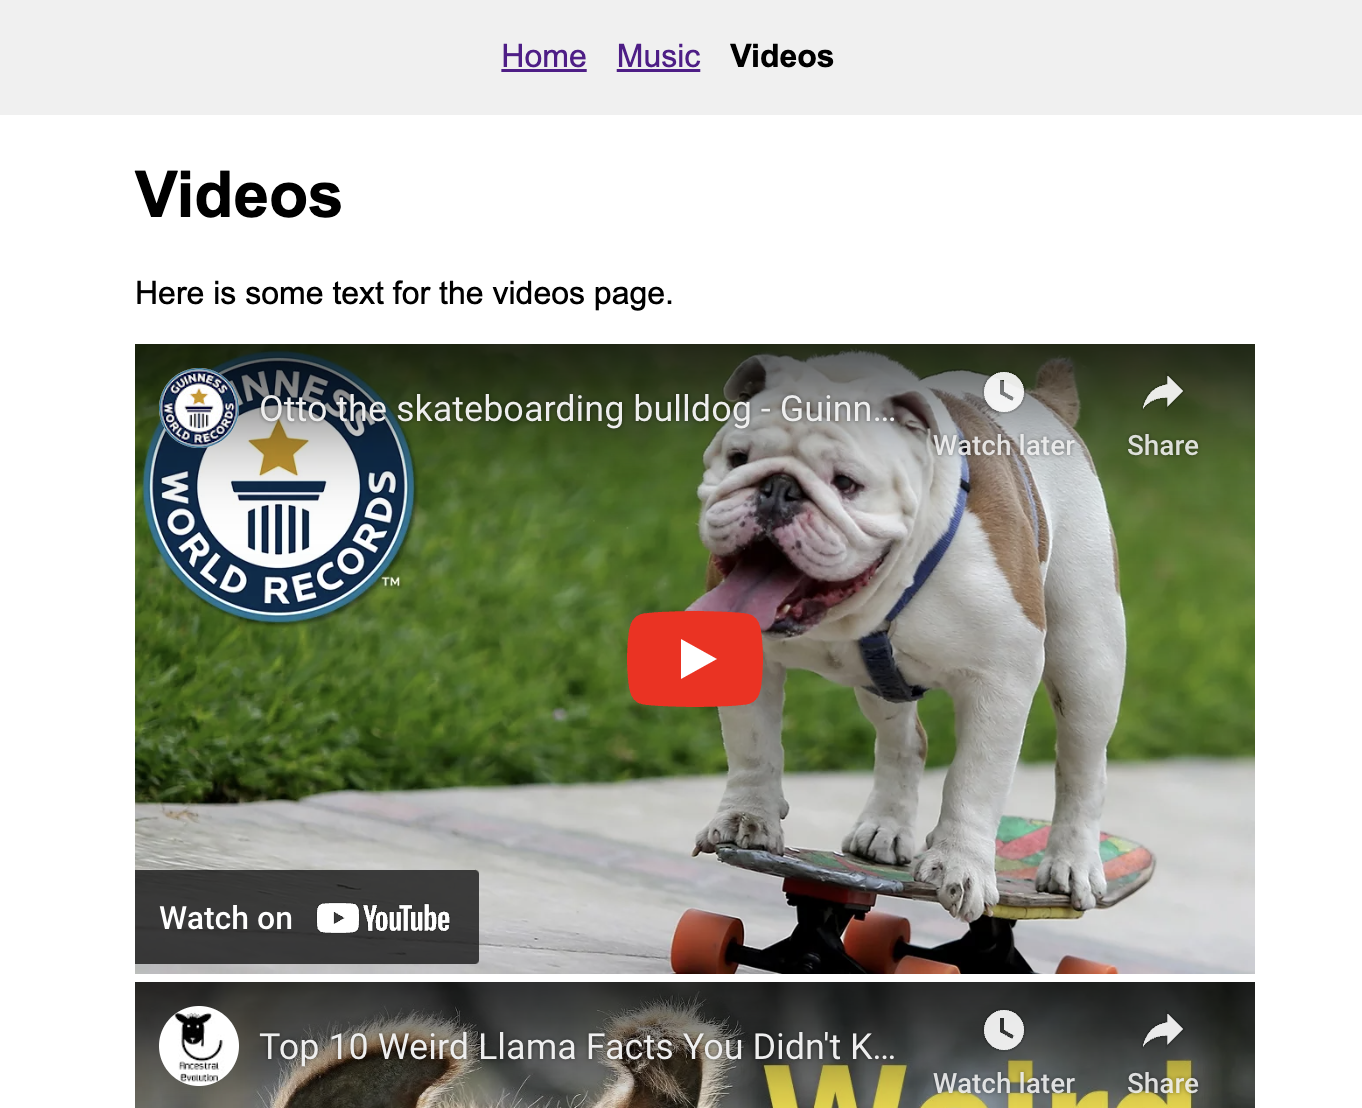
When you’re done, your page should look like this (except with your videos):
More examples: Please also see the course resources on media tags.
5. Add a Spotify player to music.html
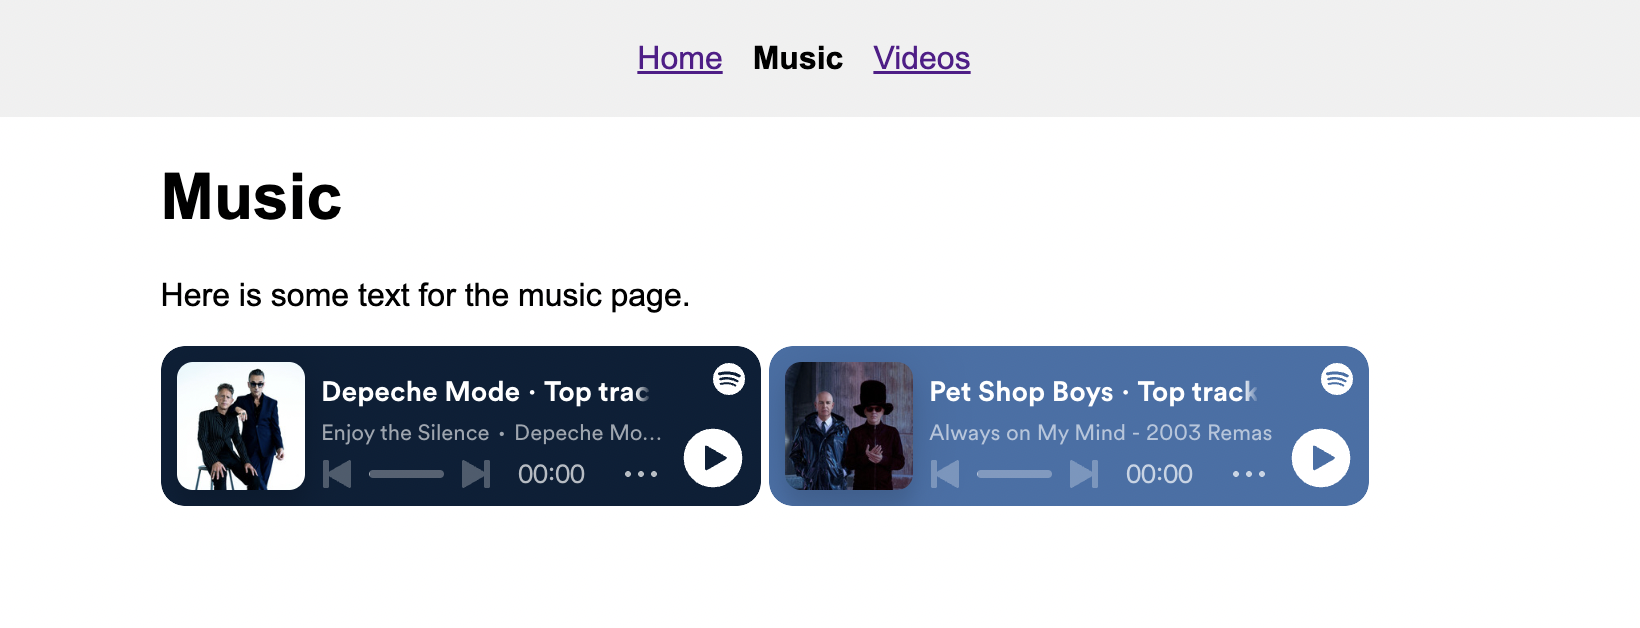
Inside the music.html file, add one or more embedded music players inside of the <section class="music-section"></section> region of your page. There are instructions on how to get the embed code of a Spotify artist profile, album, song, playlist, or podcast on Spotify’s documentation page.
When you’re done, your page should look like this (except with your videos):
6. Optional Enhancements
While we have not yet covered CSS, try editing style.css as follows:
- See if you can change the fonts and/or text color of the h1 tag
- Try resizing the images
- See if you can get your iframe to have the same style as your image
- Change the background color of you web page
- See if you can get your hyperlinks to have a hover effect
CSS Reference
Please also see the course resources on CSS:
What to turn in
Please zip your entire tutorial02 folder (ask if you don’t know how to do this), and submit it to Moodle under Tutorial 2.