Assignments > Tutorial 8: Make an online drawing program
Due on Mon, 11/06 @ 11:59PM. 6 Points.
Background Readings / References
- How To Write Conditional Statements in JavaScript. Digital Ocean
- The canvas element. W3Schools
- Intro to p5.js
Introduction
Today you are going to create a drawing program as a means to help you practice:
- Accessing user input from form controls
- Working with conditional statements
- Using a third-party library (p5.js) and reading technical documentation.
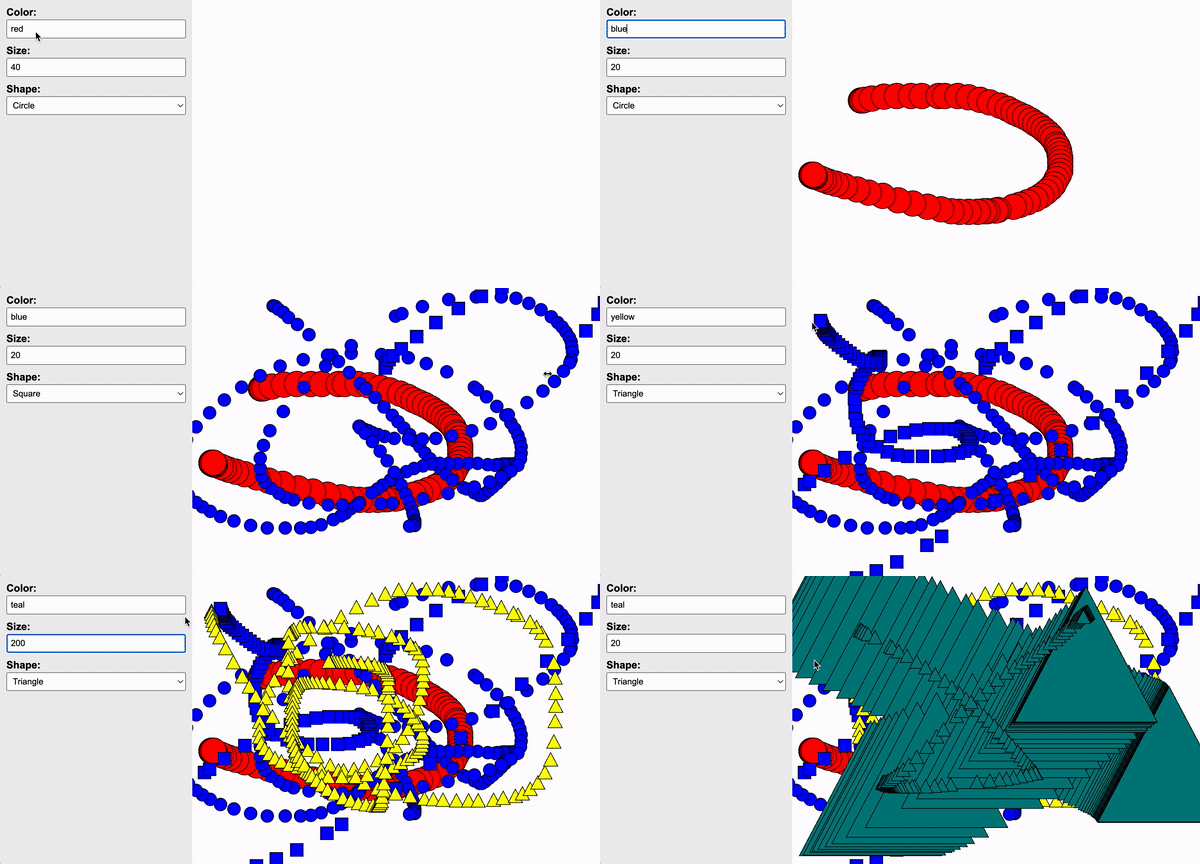
When you’re done, you will have created something that looks like the video shown below:

Set Up
Please download the tutorial08.zip zip file, extract it, and move the tutorial08 folder inside of your csci185/tutorials folder.
When you’re done, please examine the starter files before beginning the assignment.
index.html
Notice that index.html has a reference to the p5.js library, which has a bunch of functions that we will be using. It also has a reference to main.js, which is the JavaScript file that you will be editing.
In the body section, there are two panels. The panel on the left (<aside></aside> tag) contains some form controls that allow the user of your drawing program to specify the color, size, and shape of the paintbrush. The panel on the right will eventually hold a <canvas></canvas> tag, which is where the user will create their drawing.
<html>
    <head>
        <title>DOM Demo</title>
        <link rel="stylesheet" href="style.css">
        <script src="https://cdn.jsdelivr.net/npm/p5@1.4.2/lib/p5.js" defer></script>
        <script src="main.js" defer></script>
    </head>
    <body>
        <main>
            <aside>
                <label for="color">Color:</label>
                <input type="text" id="color" value="red" />

                <label for="size">Size:</label>
                <input type="text" id="size" value="40" />

                <label for="shape">Shape:</label>
                <select id="shape">
                    <option value="circle">Circle</option>
                    <option value="square">Square</option>
                    <option value="triangle">Triangle</option>
                </select>

            </aside>

            <section id="canvas-holder">
                <!-- A canvas element will be inserted here (from main.js) -->
            </section>
        </main>

    </body>
</html>
main.js
You will implement the logic of your drawing program in main.js. At the top, you will see a function called setup() (below), whose job is to create a canvas tag and register it with p5.js. This function is always required, but you do not need to edit it.
function setup() {
    // Code to set up the canvas. Do not edit.
    const canvasEl = document.querySelector('#canvas-holder');
    const canvasWidth = canvasEl.offsetWidth;
    const canvasHeight = canvasEl.offsetHeight;
    const myCanvas = createCanvas(canvasWidth, canvasHeight);
    myCanvas.parent("canvas-holder");
    background('#FFF');
}
You will be editing a function called mouseDragged() which is invoked anytime a user drags their mouse on the canvas. Currently, no matter what preferences the user has selected in the left-hand panel, the drag will always make a hotpink circle:
function mouseDragged(){
    // Your job:
    // When the user drags the mouse on the canvas, you should honor
    // the color, shape, and size of the paintbrush that are selected
    // in the right-hand panel. Replace the code below with something
    // smarter:
    fill('hotpink');
    circle(mouseX, mouseY, 20);
}
Your Task
Your job is to edit the function body of mouseDragged() so that it honors the user’s color, shape, and size preferences (see animation above):
Tips
Within the mouseDragged() function:
- Create three variables –
color,shape, andsize. Store the value of the user’s preferences in these variables. - Use an if / else if / else statement to figure out which shape to draw
I have pasted some code below that shows you how to make a triangle, circle, and square using p5.js.
// Samples:

// https://p5js.org/reference/#/p5/circle
fill('pink');
circle(400, 400, 100);   // x, y, diameter

// https://p5js.org/reference/#/p5/square
fill('navy');
square(50, 300, 50);   // x (top left), y (top left), width

// https://p5js.org/reference/#/p5/triangle
fill('teal');
triangle(
    50, 50, // first point
    30, 80, // second point
    70, 80  // third point
)
Optional Assignment Extensions
- Add a fourth shape that a user might choose
- Add the ability for the user to specify the outline color of the shape (currently it defaults to black)
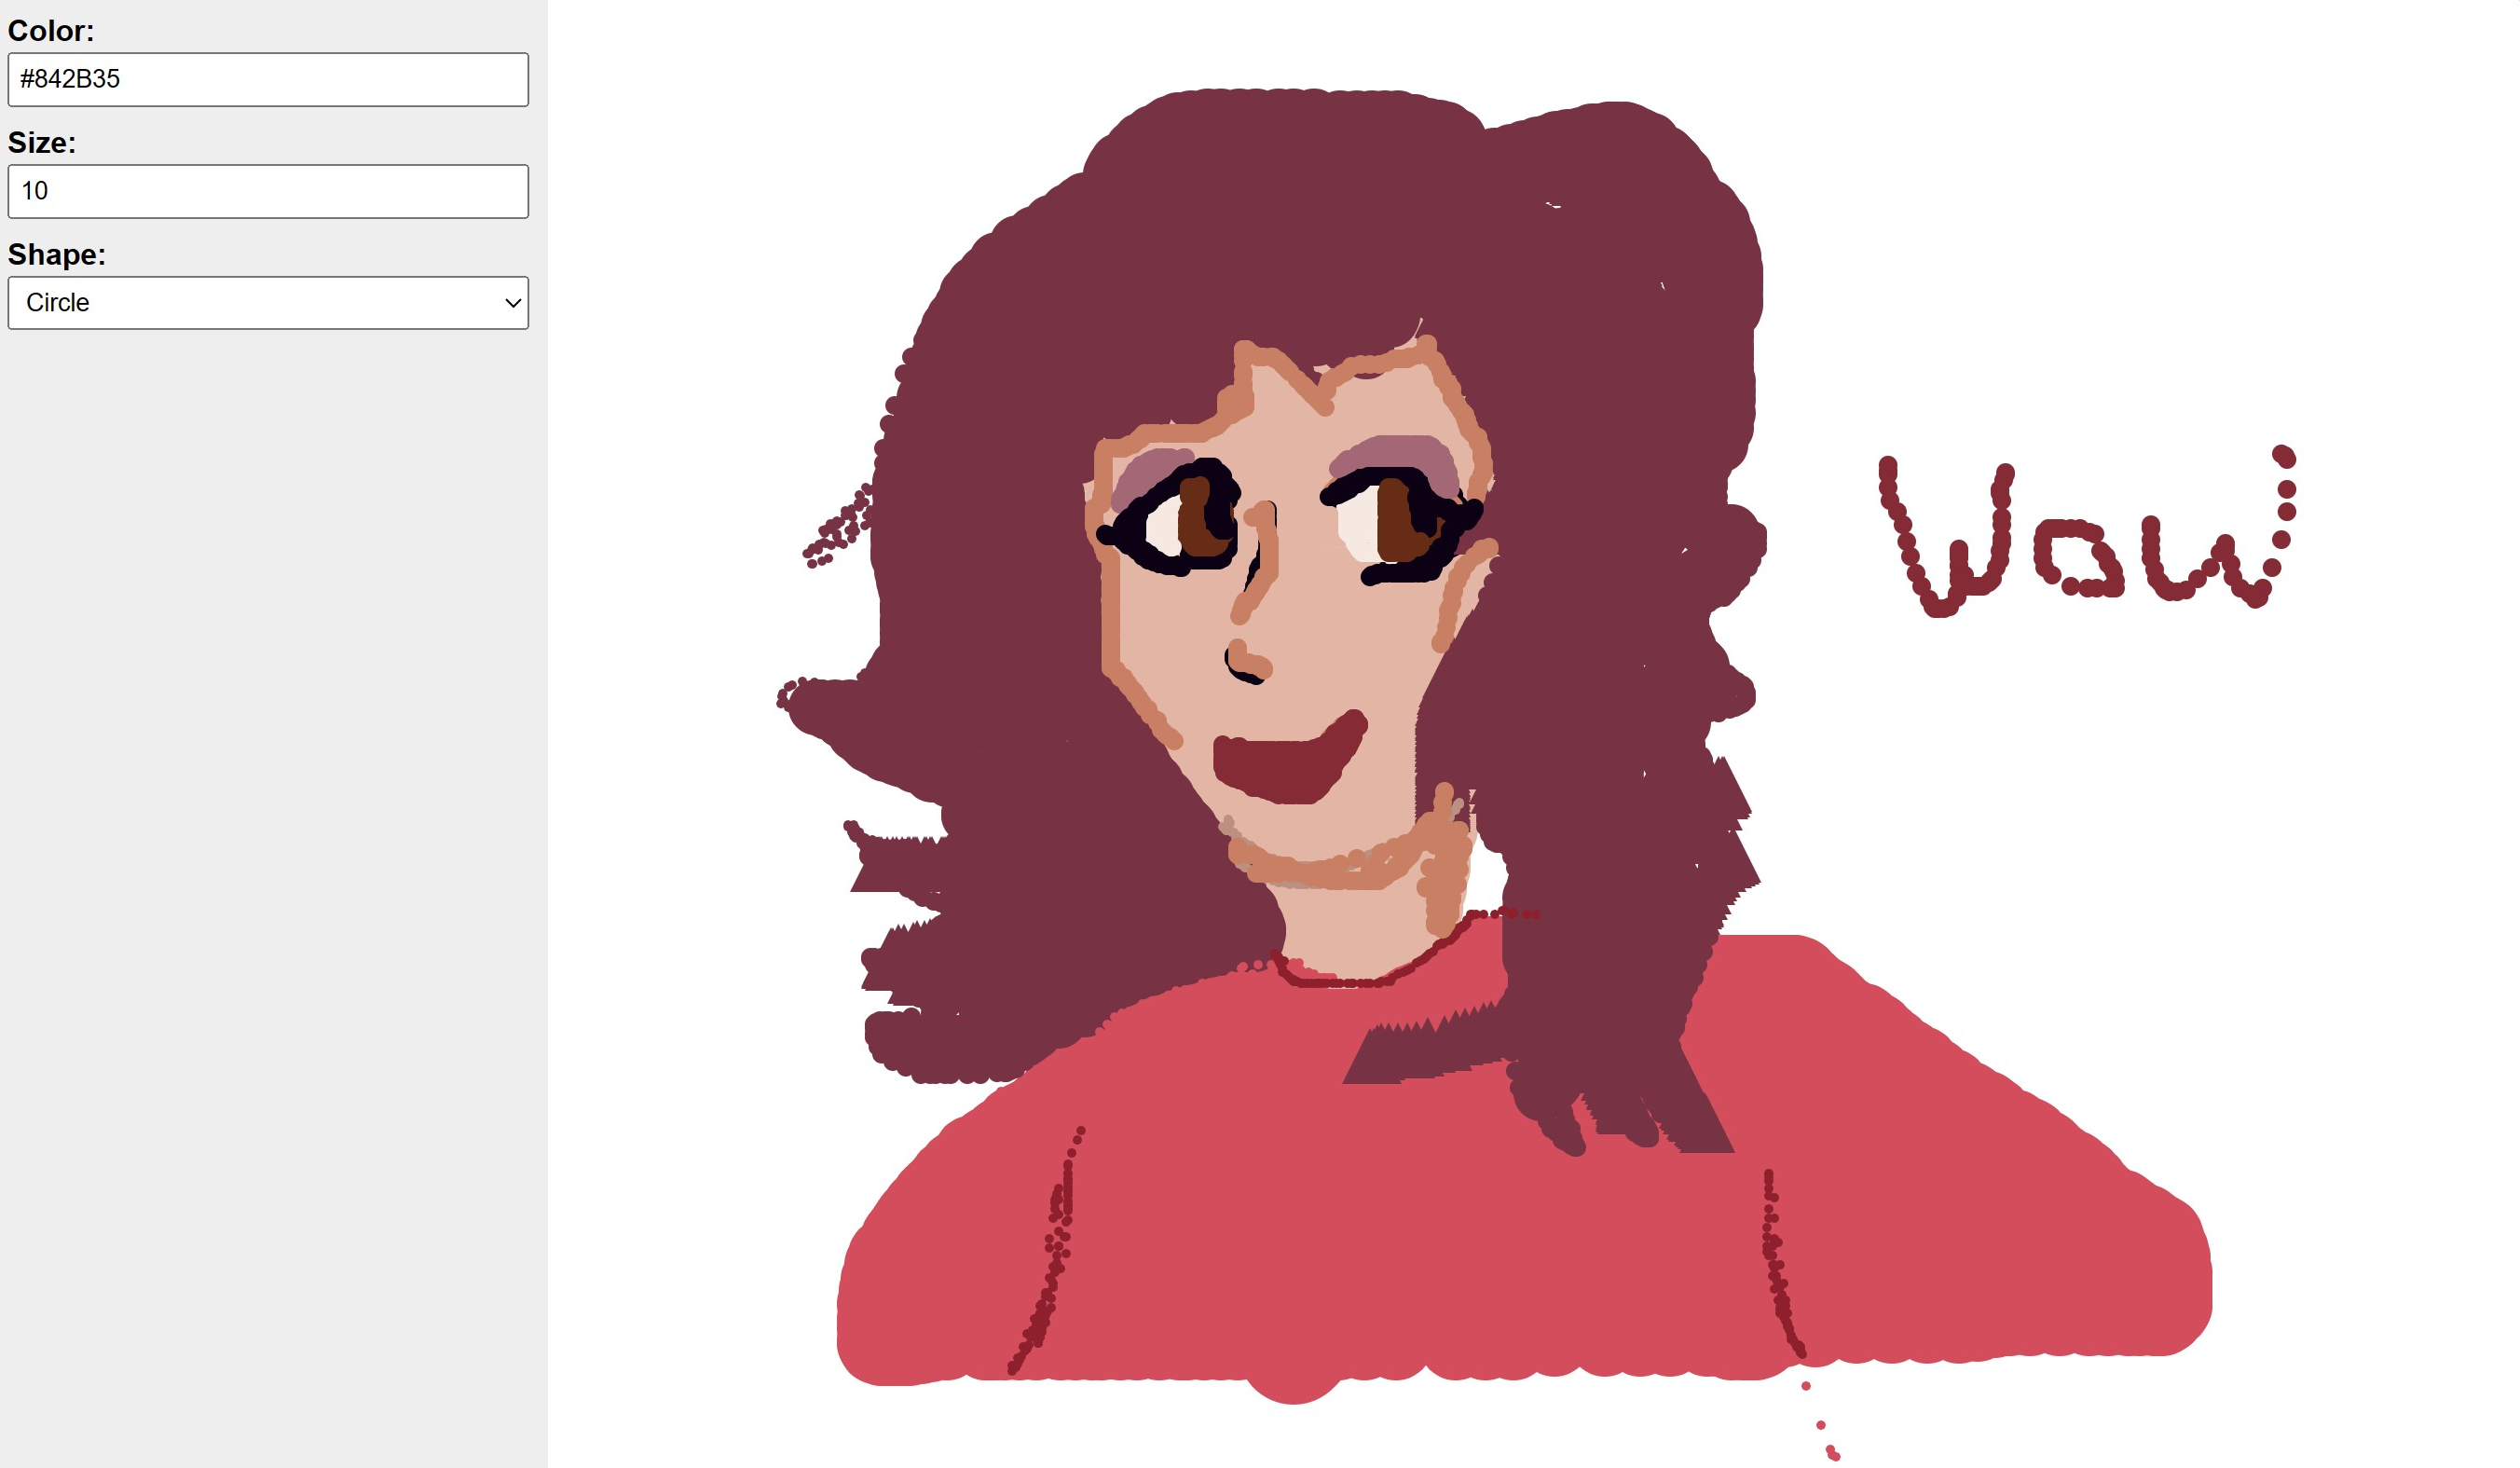
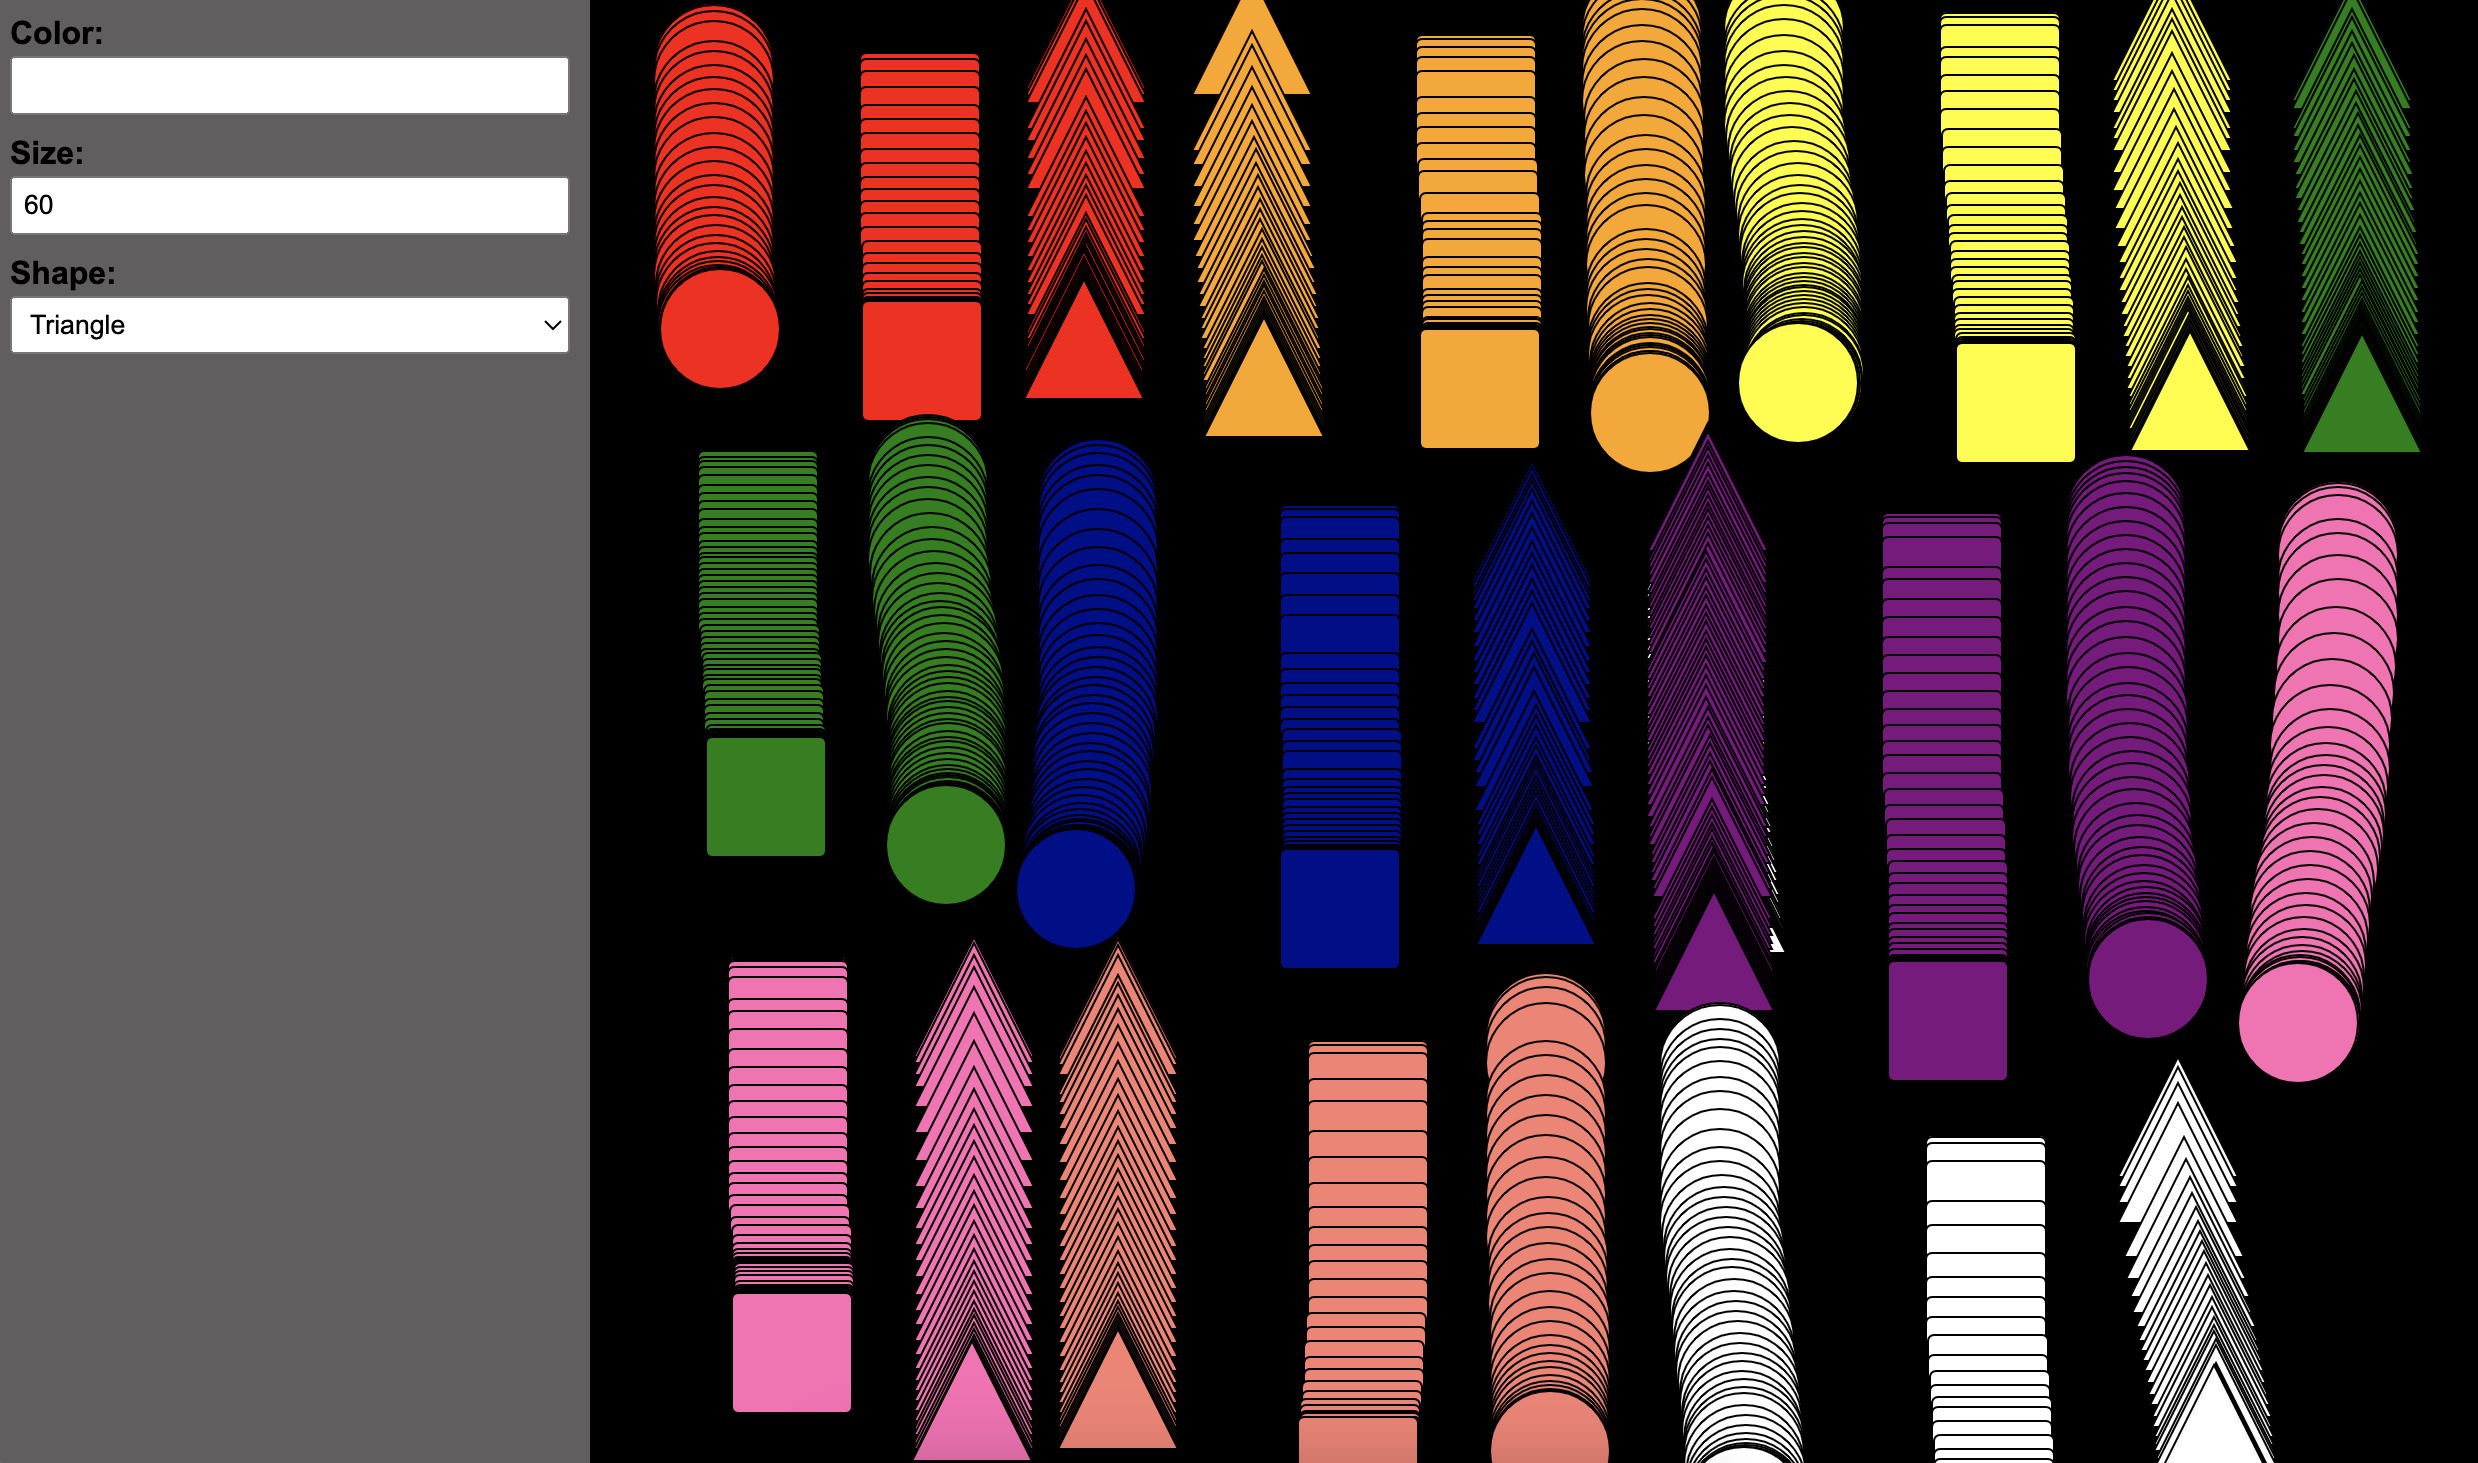
Gallery of Inspiration

Credit: Ko Dowling

Credit: Isabella Hernandez
What to Submit
Please Read Carefully: To submit Tutorial 8, please paste the following links into the Moodle under the Tutorial 8 submission section:
- A link to your homepage on GitHub pages, which should link to the drawing program that you just made. See Sarah’s Homepage for an example.
- Note that your homepage should also link to previous tutorials and classwork you have done.
- A link to your GitHub code repository (where your code files are stored).