Assignments > Tutorial 3: Design a Homepage
Due on Fri, 09/02 @ 11:59PM. 4 Points.
In this tutorial, you are going to make a homepage for your coursework, which you will create directly inside of your csci185 directory (the folder where you made your git repository). Please complete the following steps:
Step 1: Get Set Up
Create a brand new file called index.html directly inside of your csci185 directory, and paste this (suggested) starter code into the HTML file you just created:
<!-- You're welcome to change any of this! -->
<!DOCTYPE html>
<html lang="en">
   <head>
        <!-- stylesheets and metadata go here -->
       <title>My CSCI 185 Homepage</title>
       <link rel="stylesheet" href="style.css">
   </head>
   <body>
       <!-- HTML content tags go here. Change anything you want! -->
       <header>
           <h1>My CSCI 185 Homepage</h1>
       </header>
       <main>
            <section id="tutorials">
                <h2>Tutorials</h2>
                <!--
                    Links to your tutorial assignments go here.
                    When you submit a new tutorial, add a link to it
                    here (if applicable)
                -->
            </section>
            <section id="homework">
                <h2>Homework</h2>
                <!--
                    Links to your Homework assignments go here.
                    When you submit a new HW assignment, add a link to it here (if applicable)
                -->
            </section>
            <section id="inspiration">
                <h2>Design Inspiration</h2>
                <!--
                    Links to 5-10 websites that inspire you
                -->
            </section>
        </main>
   </body>
</html>
Also create a stylesheet called style.css directly inside of your csci185 directory. Paste the following (suggested) starter code into the stylesheet:
/* You're welcome to change any of this! */
* {
    box-sizing: border-box;
}

body {
    margin: 0px;
    font-family: Arial, sans-serif;
}
header, section {
    padding: 20px;
}
p, li {
    line-height: 1.5em;
}

#inspiration {
    background-color: #F0F0F0;
    padding-top: 40px;
    padding-bottom: 40px;
}
When you’re done, your csci185 directory should look something like this:
csci185
├── lectures
│   ├── lecture02
│   │   ├── bakery-example
│   │   └── exercise
│   └── lecture04
│       ├── answers
│       ├── index.html
│       └── styles.css
└── tutorials
│   └── tutorial01
│       ├── images
│       ├── index.html
│       ├── music.html
│       ├── style.css
│       └── videos.html
├── index.html  # index.html file you just made
└── style.css   # style.css you just made
Note that you can have additional files and folders in your repo directory, so long as the ones listed above are in there.
Commit your changes and push to GitHub
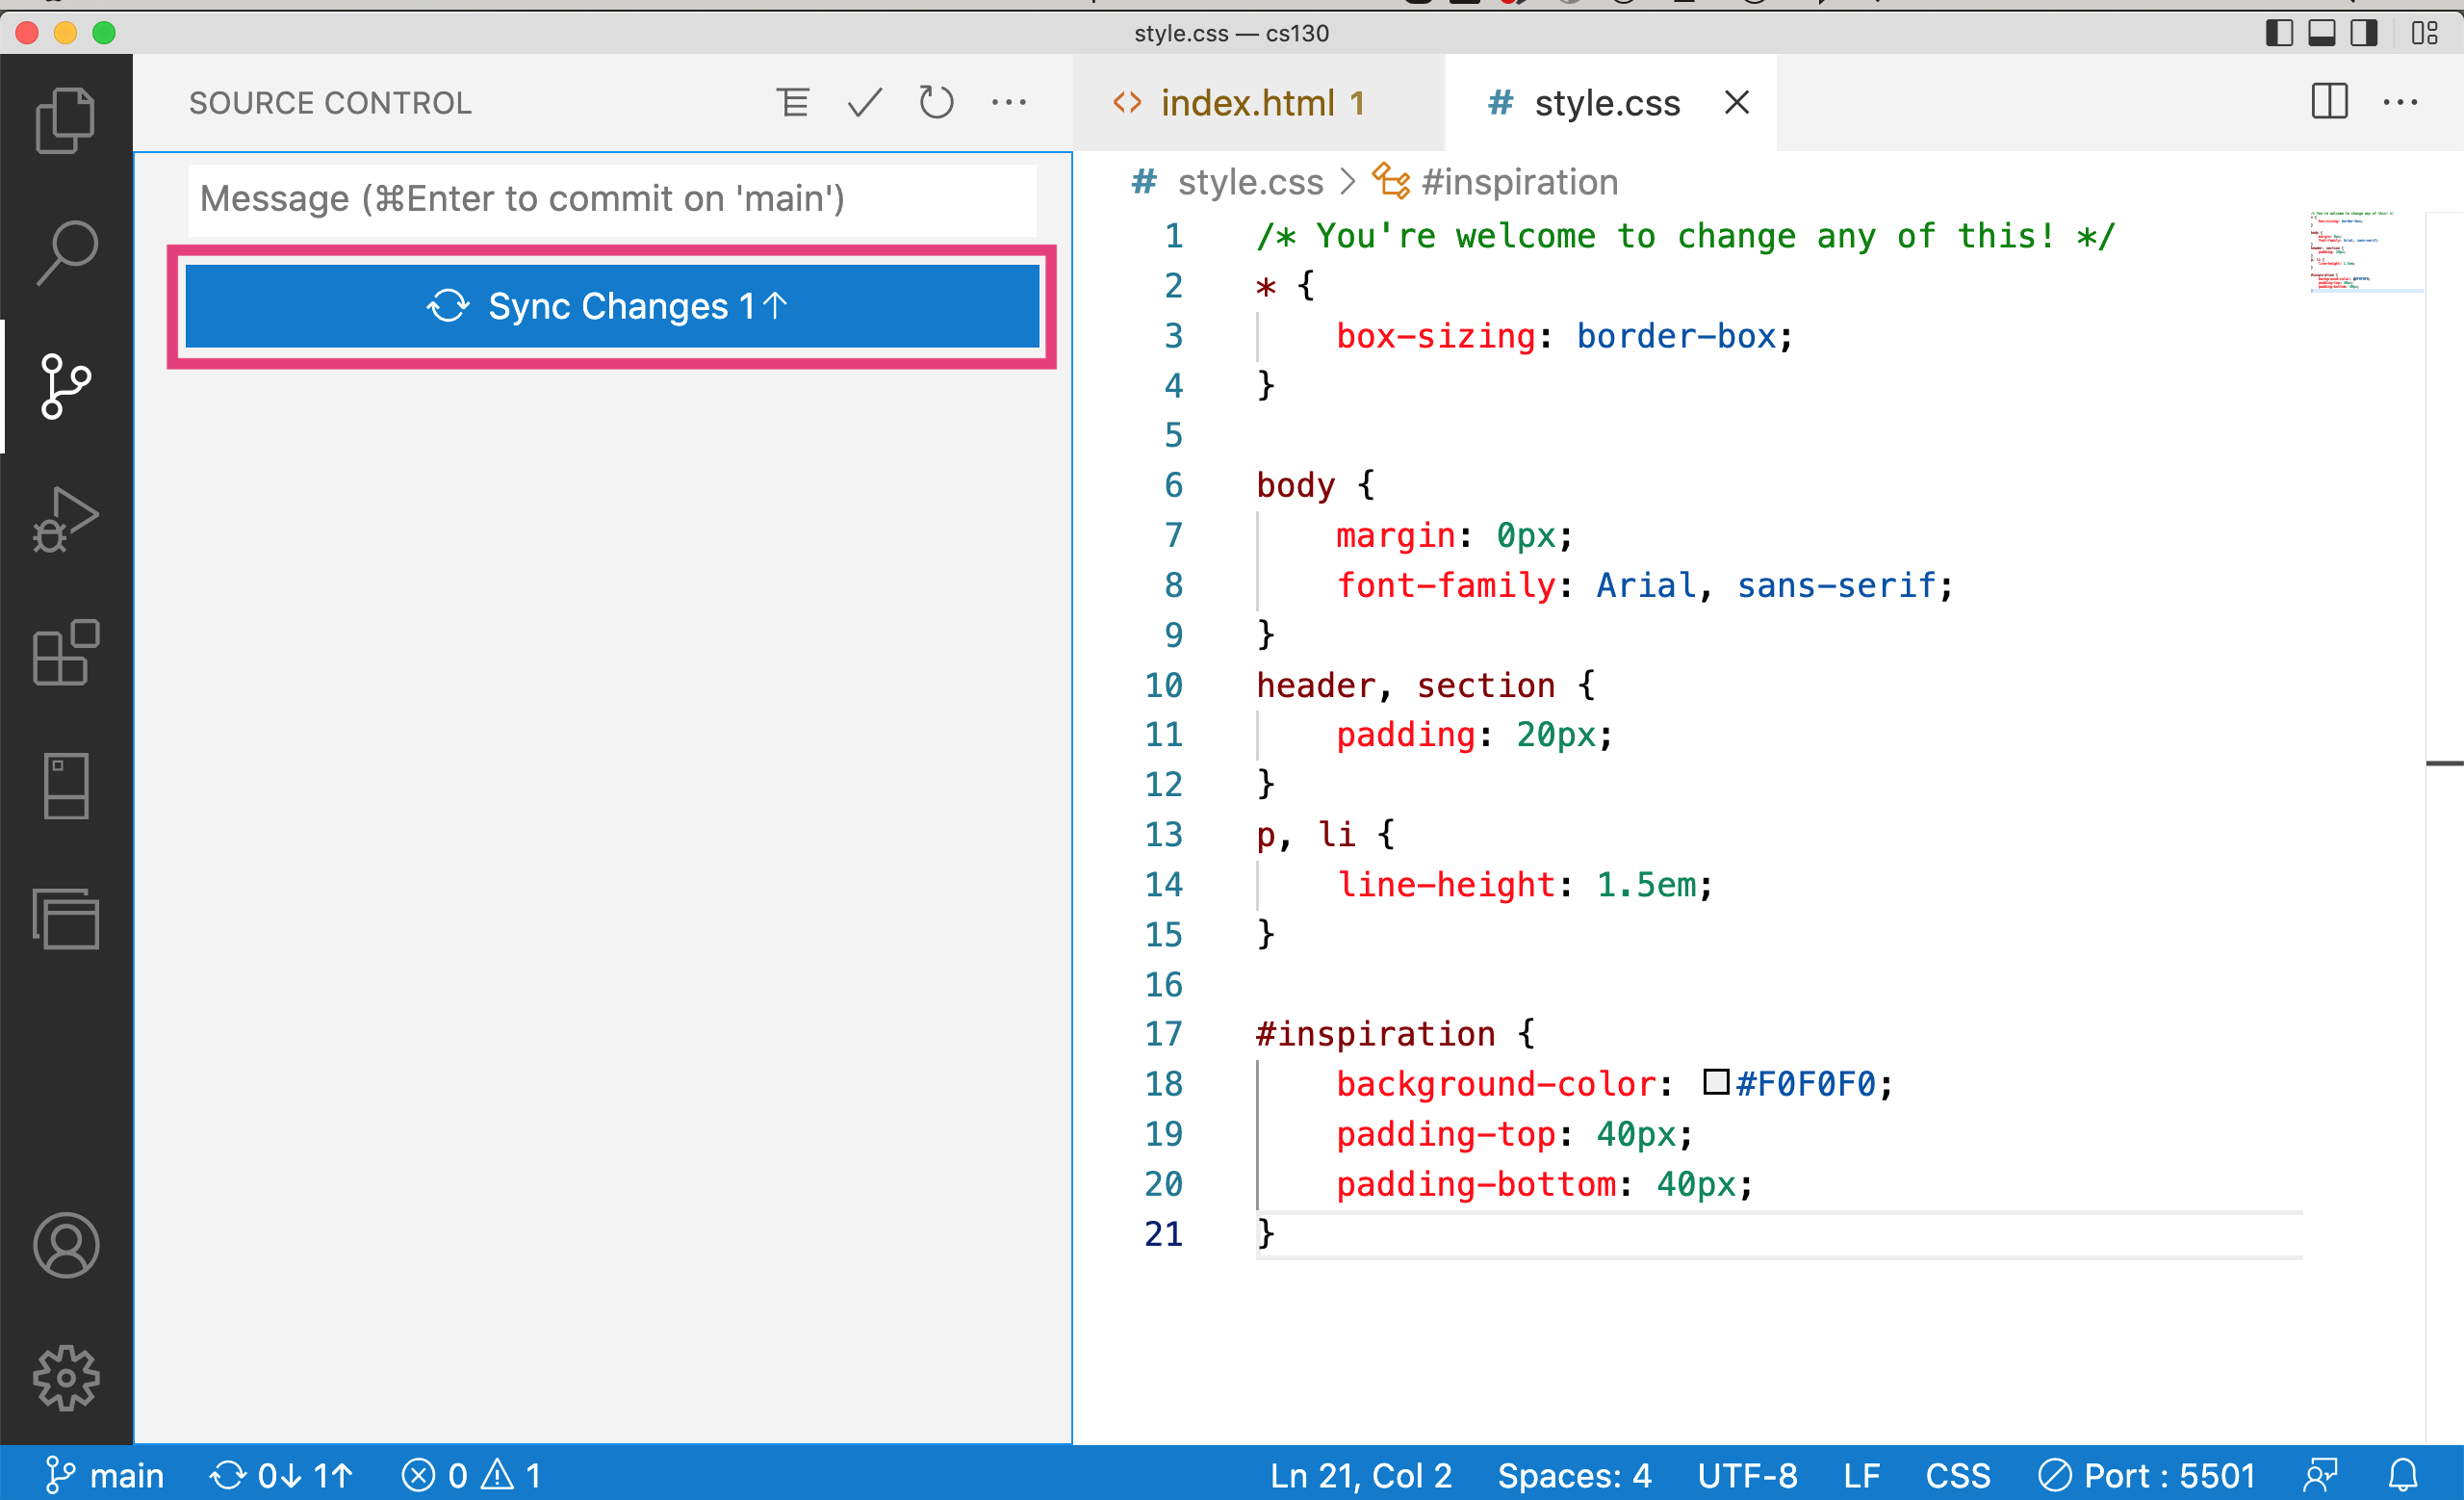
Once you’ve set up your two new files, go ahead and commit everything and push your new files to GitHub. This will involve (1) “staging” all of your changes, (2) committing them, and (3) syncing them.
1. Staging
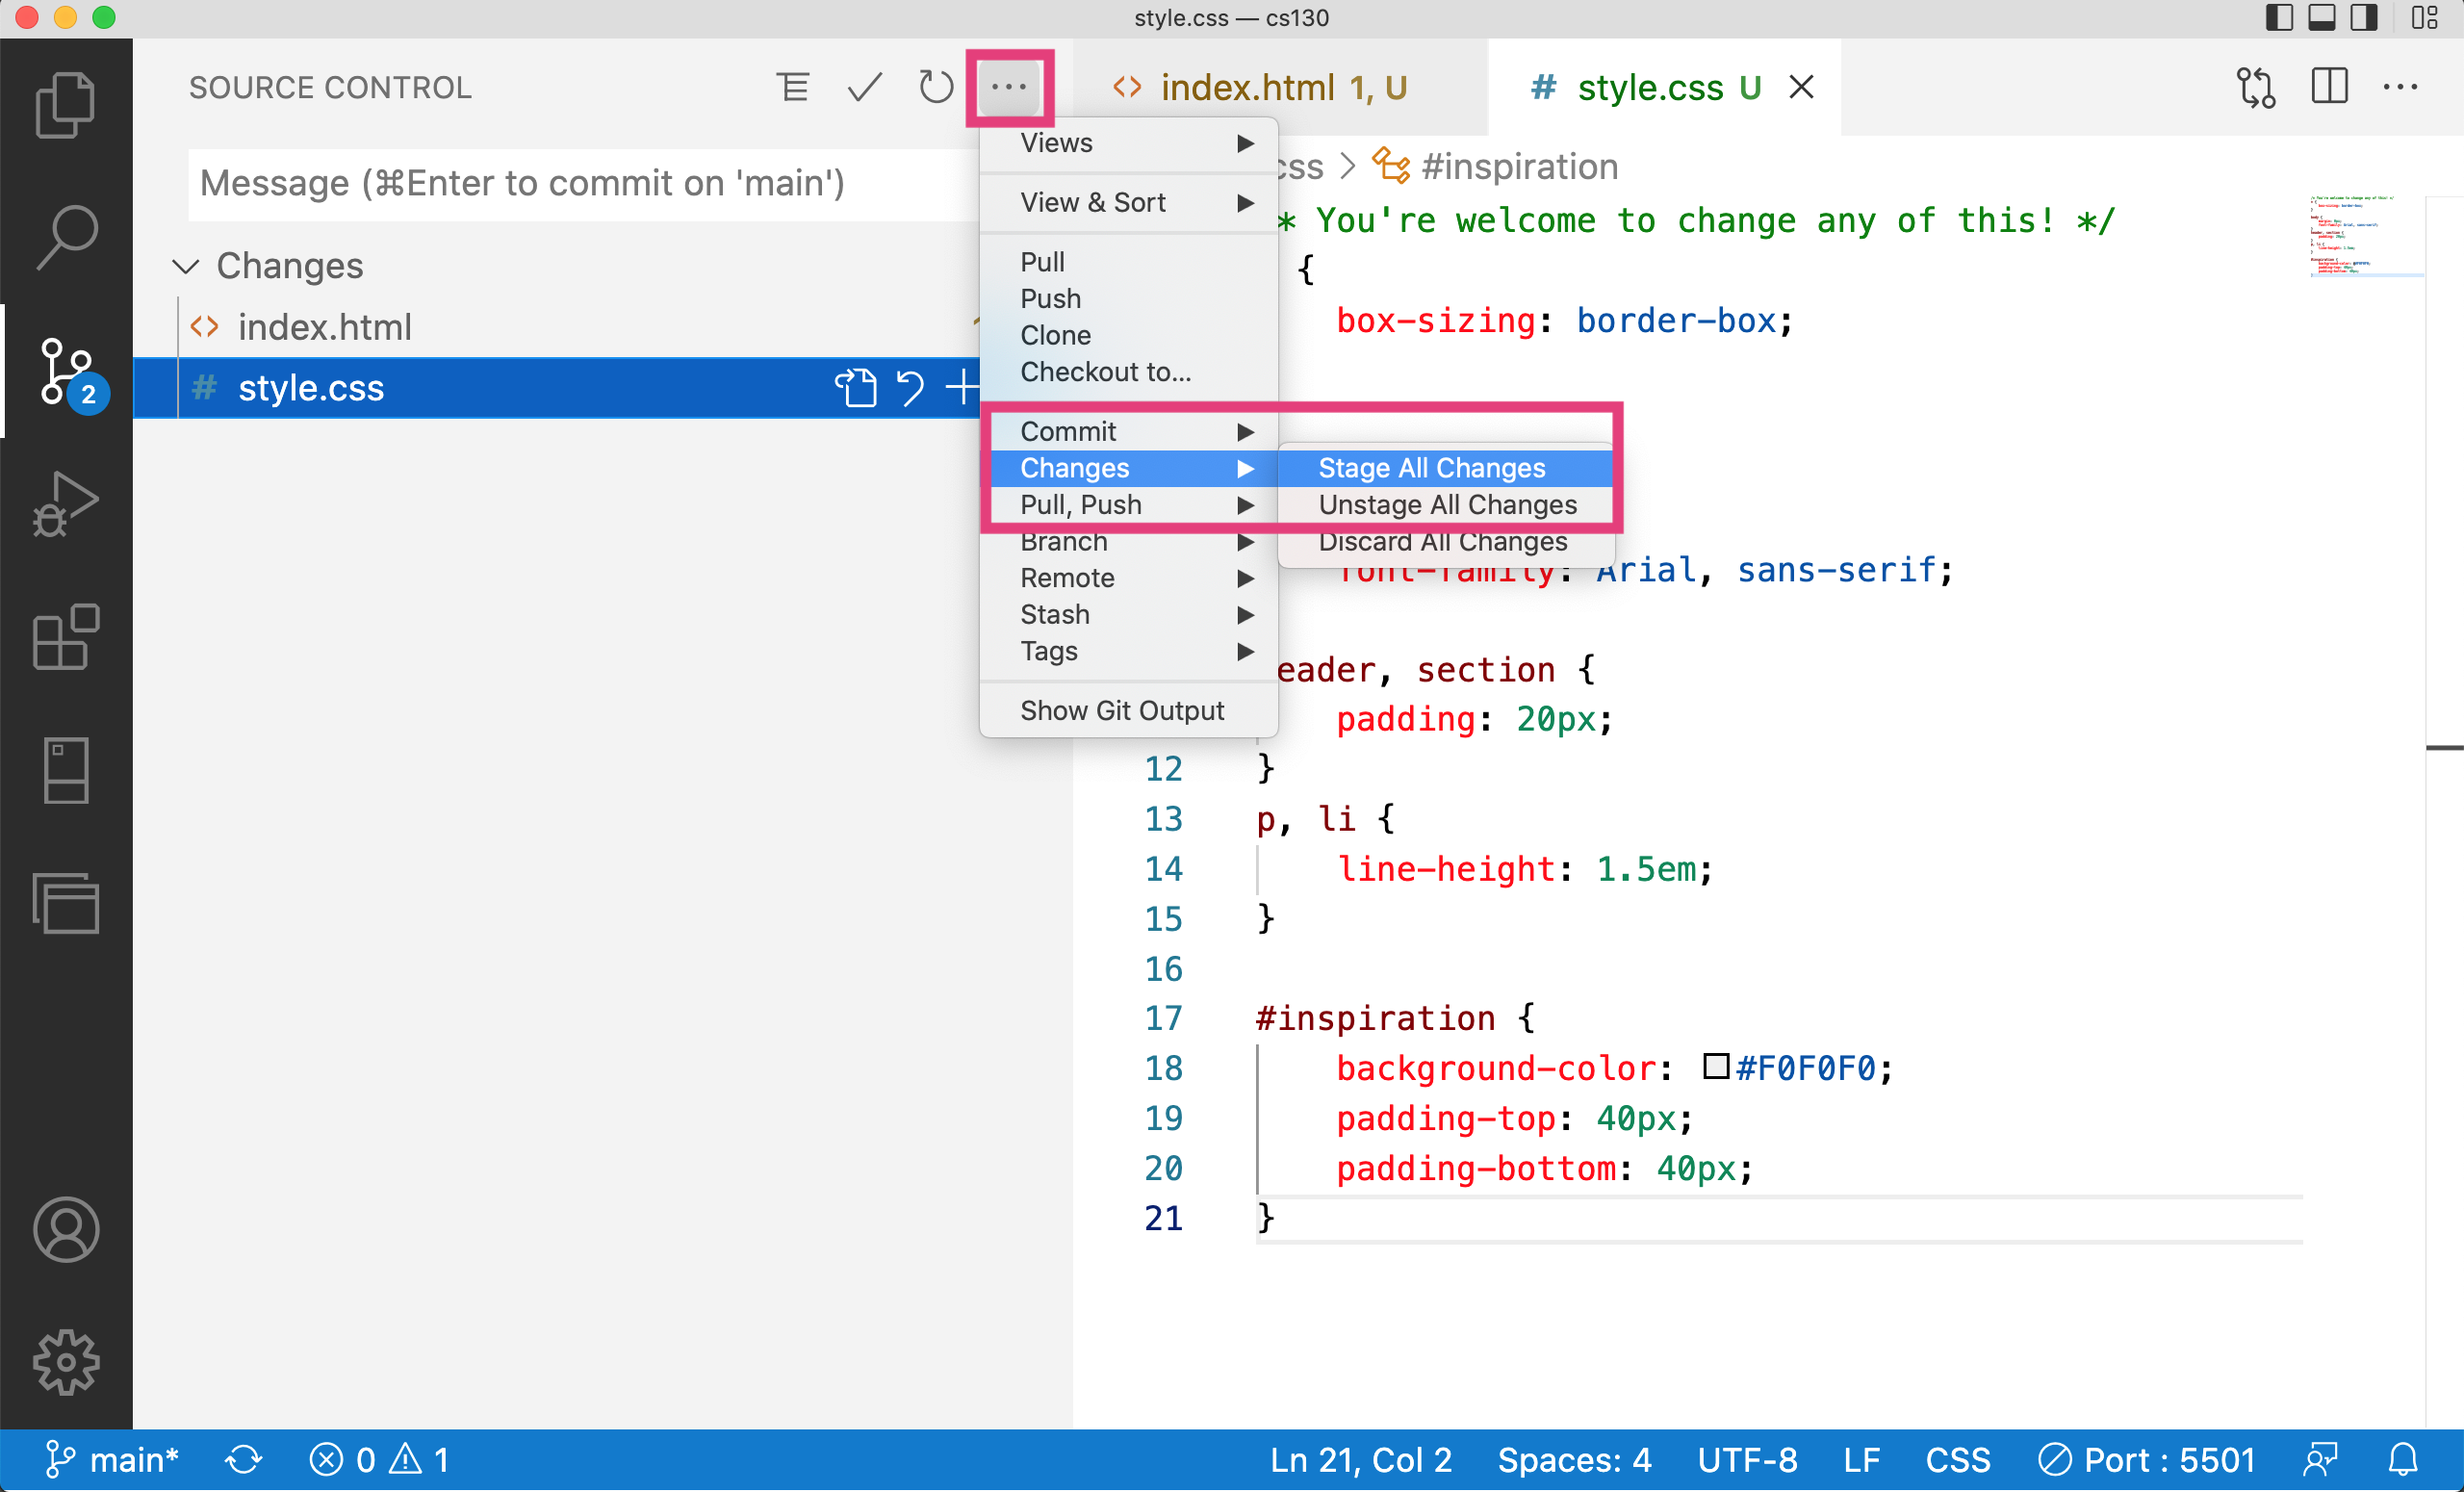
2. Committing

3. Syncing
Step 2: Link to your work
Next, add a link to your tutorial #1 work using a relative path. For instance, mine looks like this:
Feel free to do it your way! When you’re done, commit your changes and push to GitHub using the same steps that you used above.
Then, wait about a minute and go check out your changes on GitHub pages.
Step 3: Plan your design
1. Pick your values
Using this list of values, select 3 that best describe the values that you want to communicate about yourself and your work.
2. Search for inspiration
The best way to learn how to design is to look at great designs! Go out to the internet and find 5-10 web pages, images, advertisements, banners, etc. that you think look great! Take a look at the Design Resources page to find some design websites.
Add the links that you found to the “inspiration” section of your homepage (like Sarah’s example). How might you use the techniques used in the examples you found (e.g. alignment, contrast, proximity, color, typography, textures, images, etc.) to communicate your values?
Step 4: Style your page
Now, create your own look-and-feel on your web page:
- Update the fonts: select (and apply) a header and a body copy font from Google Fonts. Here is some sample code of how to use Google Fonts. Ensure that your fonts are complementary and that they match the values / theme of the website.
- Instantiate the principles of proximity and alignment to visually group the different sections of your homepage. Cluster similar things, apply spacing to things that are different. Be very intentional about aligning and organizing your content.
- Pick some colors and apply them to your design.
- Add some images to your design (create an images folder to store your images).
- When you’re done, commit your files to GitHub.
Pro Tips
- Feel free to edit (or even replace) the HTML or CSS as you like. Don’t feel tethered to the starter code!
- Use a grid. Note: this doesn’t mean that you have to use “CSS Grid.” It just means that there should be implicit vertical and horizontal lines that guide your layout.
- Use whitespace liberally.
- Here are some resources that may help you:
Checklist
Please make sure that you have completed the following (see the example, except you will add images, etc.):
- Added a link to Tutorial 1
- Added links to your in-class assignments (which should be stored in within the
lecturesfolder) - Added your “inspiration” links
- Styled your page
- Posted your homepage to GitHub Pages
What to turn in
To submit this week’s homework assignment, publish everything to GitHub (stage, commit, and sync), and then paste a link to your GitHub pages homepage on the course Moodle under the Tutorial 3 assignment.